


STEP 2: Roast the chicken bones, wings, and vegetables
Lightly coat your chicken and chopped vegetables with oil and 1 tablespoon of corn syrup or milk powder.
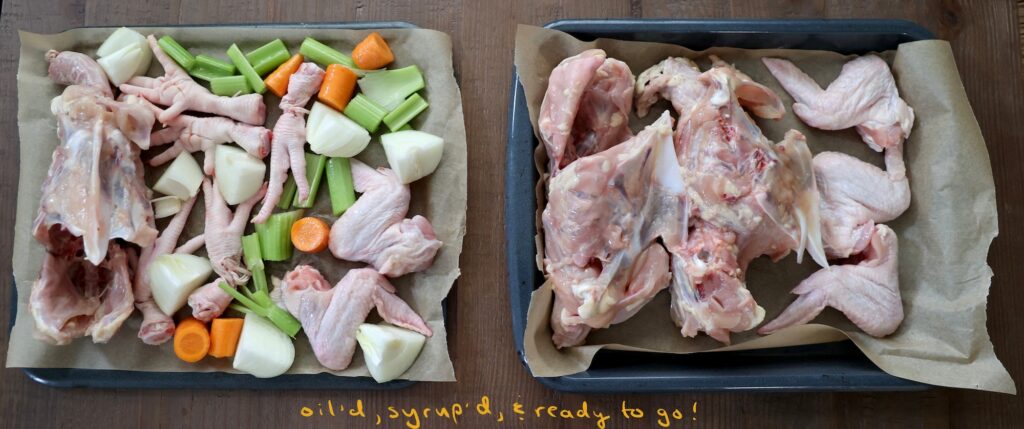
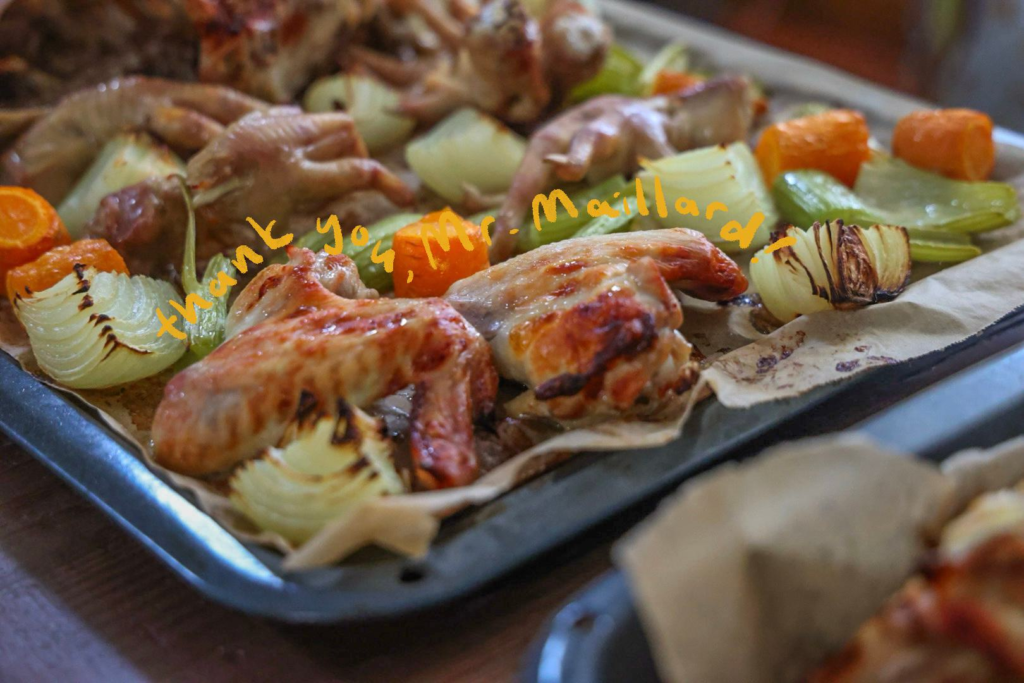
Oil 2 baking pans and spread the chicken bones, chicken wings, and vegetables across the pans in a single layer. This helps achieve an even browning.
Roast for 50 minutes, flipping the chicken once or twice, until the chicken is golden brown.

STEP 3: Simmer the chicken
In your stockpot, add the roasted chicken and 2.5 litres of water (or enough to just cover the chicken). Leave the vegetables out for now. Bring everything to a boil, then reduce to a very gentle simmer.
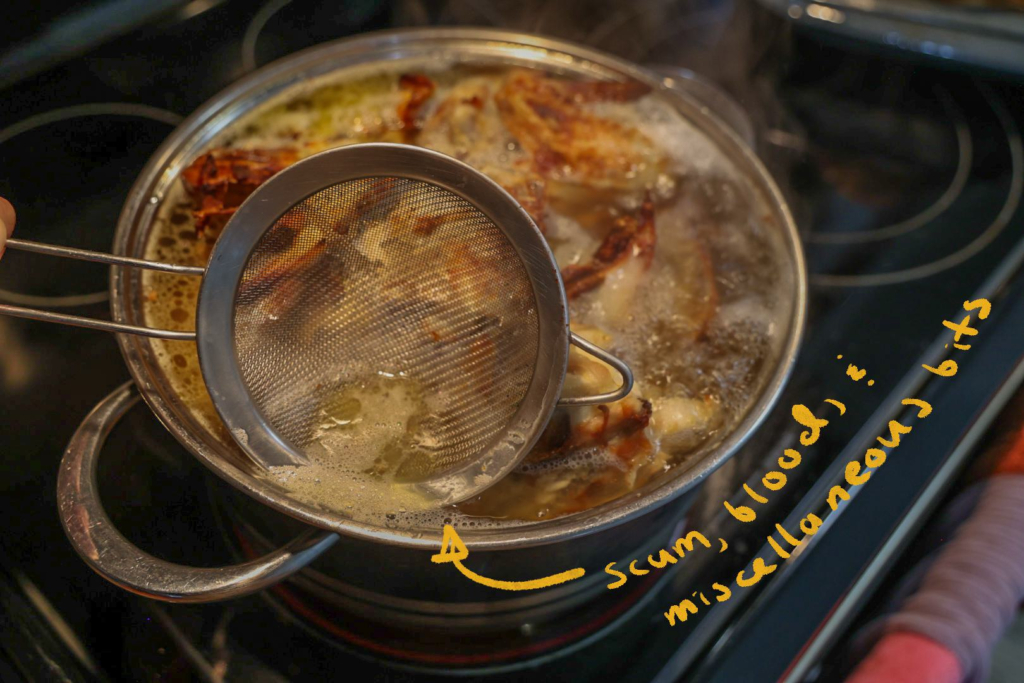
Simmer gently for 2 hours, skimming occasionally in the first half hour to remove scum that rises to the top.
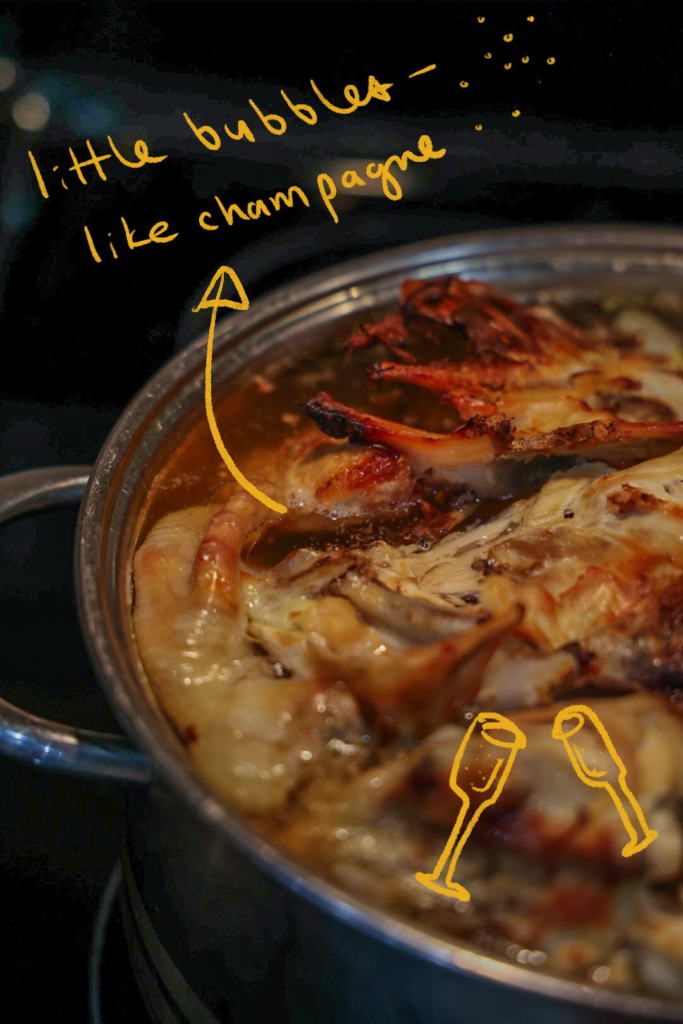
How You Can Tell When You’re Simmering
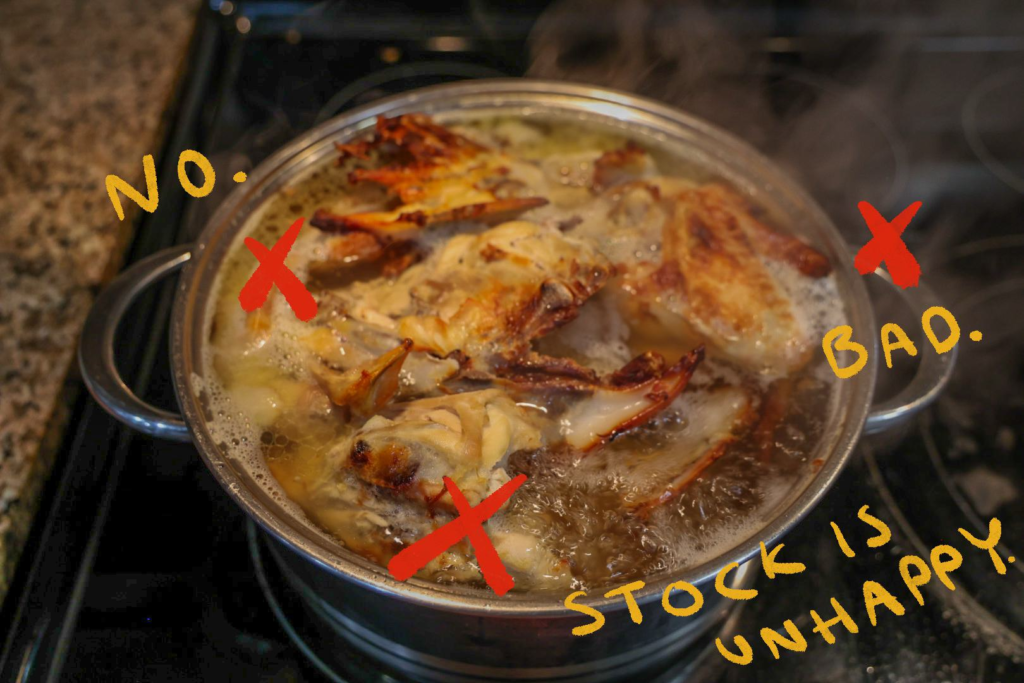
When your stock is boiling, you’ll see many big bubbles burble all across the top of your pot, and your stock will be constantly moving and agitating the ingredients. When your stock is simmering, you may see a few streams of tiny, champagne-like bubbles – but your overall pot should remain calm and undisturbed.


The BEST Chicken Stock
Equipment
- stock pot at least 12 quarts
- 1 skimmer
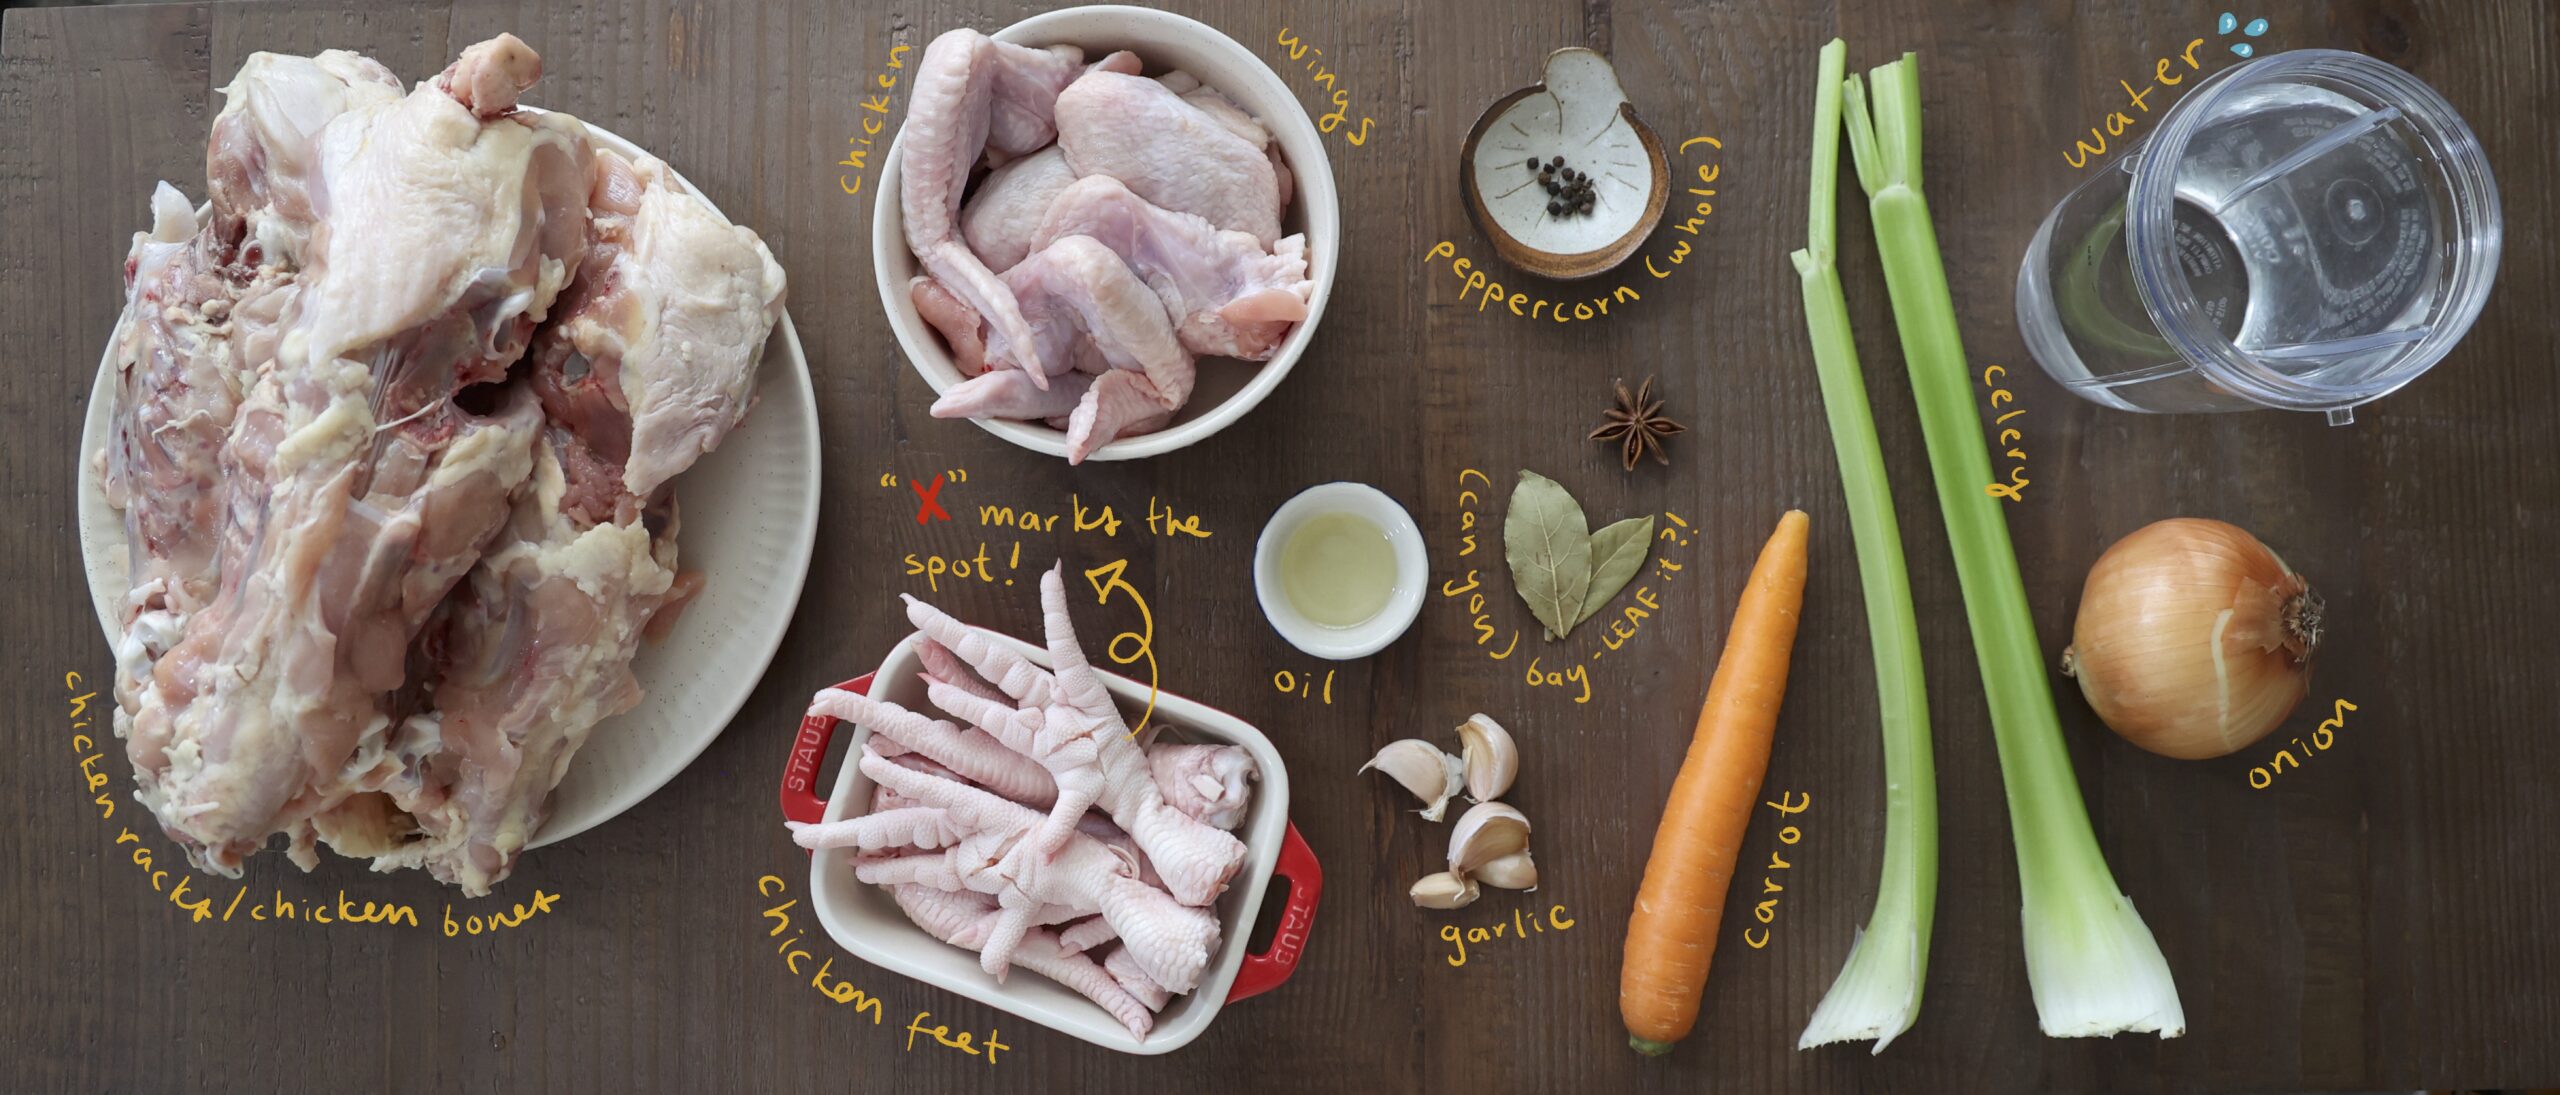
Ingredients
Chicken
- 6 lb chicken racks/bones
- 1 lb chicken wings
- 5-6 chicken feet
Vegetables
- 1 carrot cut to 1 inch chunks
- 2 celery ribs cut to 1 inch chunks
- 1 onion cut to 1 inch chunks
Rub
- 2 tbsp neutral oil e.g. vegetable, canola, peanut
- 2 tbsp corn syrup or milk powder
Herbs and Spices
- 2 bay leaves
- 5 garlic cloves
- 5-10 whole peppercorns
- 1 thumb ginger optional
- 1 star anise optional
Etc
- 2.5 litres water
Instructions
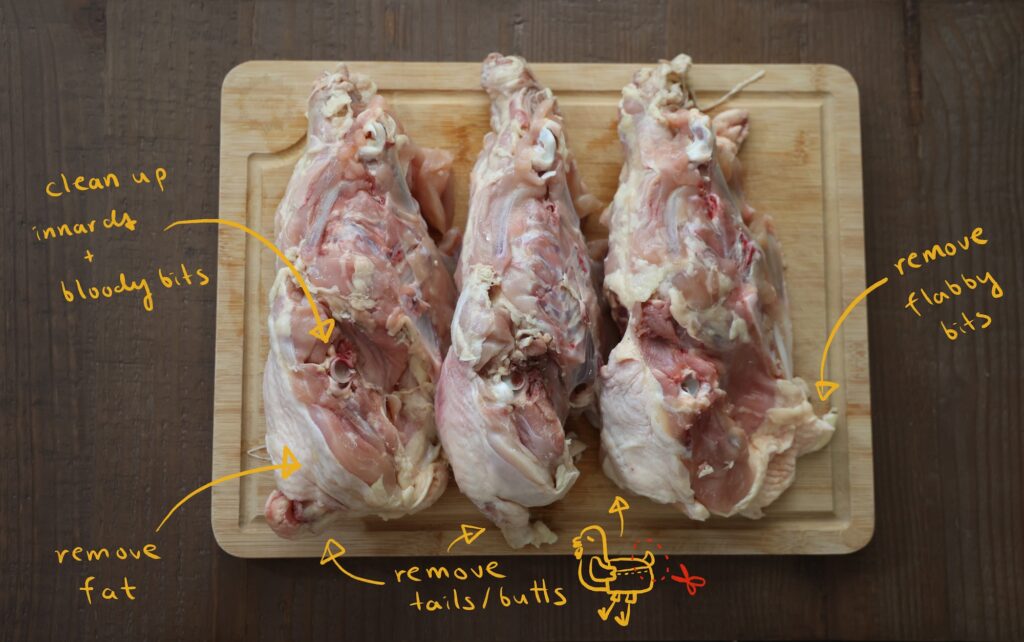
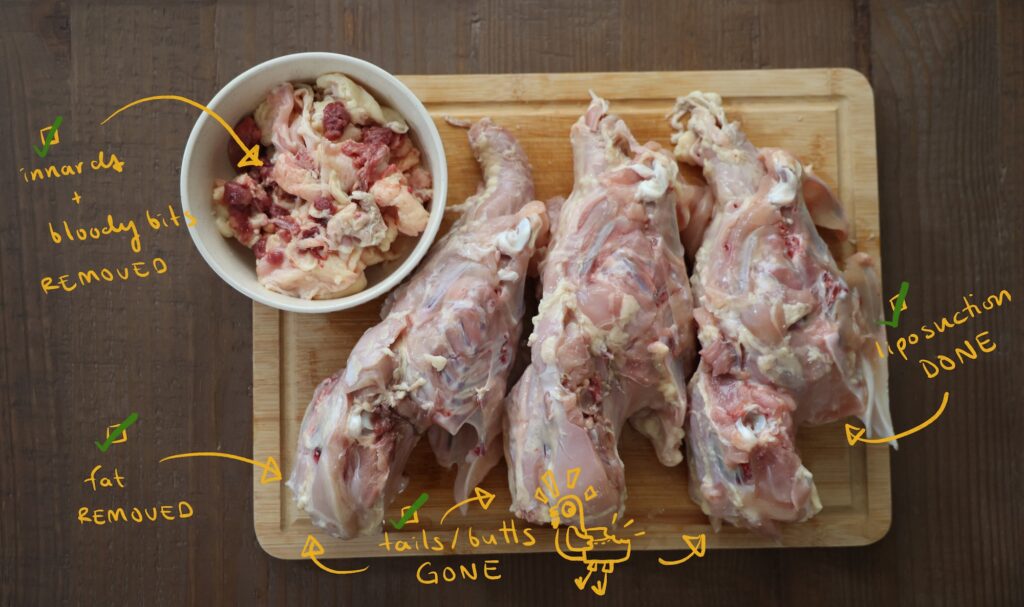
- Prepare chicken. Preheat oven to 400°F. Make a deep cut into the chicken feet palms. Remove fat, internal organs, and bloody bits from your chicken racks. Wash racks, wings, and feet. Dry well.
- Roast chicken and vegetables. Coat chicken and vegetables with oil and corn syrup. Lay everything in a single layer across 2 baking pans. Roast for 50 minutes, flipping once in the middle, or until both sides of chicken are golden brown. Pour out rendered oil and reserve for another use (keeping it in can muddy your stock).
- Simmer - without aromatics. In a stockpot, add water and roasted chicken. Bring to a boil, then reduce to a gentle simmer. Simmer for 2 hours. Optional: occasionally skim scum off the top.
- Simmer - with aromatics. Add herbs, spices, and roasted vegetables. Simmer for 1 more hour.
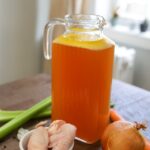
- Strain and enjoy! Strain your stock using a strainer or cheesecloth (or both). Sip and say “ahh!”
- Skim the fat (optional). Once the stock cools and the fat has congealed at the top, take a spoon and skim off as much fat as desired.